
한걸음안드로이드
[Android Java] RecyclerView 안드로이드 자바 리사이클러뷰 사용법 본문
RecyclerView(리사이클러뷰)는 목록, 리스트 등을 보여주는 뷰 입니다
먼저 안드로이드 개발자 문서 봅시다
developer.android.com/guide/topics/ui/layout/recyclerview.html#java
RecyclerView로 목록 만들기 | Android 개발자 | Android Developers
RecyclerView를 사용하여 동적 콘텐츠의 목록과 그리드를 표시합니다.
developer.android.com
복잡해 보이지만 간단히 설명하면
1. 리사이클러뷰 생성
2. 어댑터 객체 생성 및 데이터 넘기기
3. 어댑터에서 데이터 처리 및 뷰 아이템 표현
이 세 단계로 진행이 됩니다
코드로 살펴봅시다
1) 우선 xml 파일에 리사이클러뷰를 추가합니다
activity_main.xml
|
1
2
3
4
5
6
7
8
9
10
11
12
13
14
15
16
17
18
|
<?xml version="1.0" encoding="utf-8"?>
<androidx.constraintlayout.widget.ConstraintLayout
xmlns:android="http://schemas.android.com/apk/res/android"
xmlns:app="http://schemas.android.com/apk/res-auto"
xmlns:tools="http://schemas.android.com/tools"
android:layout_width="match_parent"
android:layout_height="match_parent"
tools:context=".MainActivity">
<androidx.recyclerview.widget.RecyclerView
android:id="@+id/my_recycler_view"
android:layout_width="match_parent"
android:layout_height="match_parent"
app:layout_constraintBottom_toBottomOf="parent"
app:layout_constraintEnd_toEndOf="parent"
app:layout_constraintStart_toStartOf="parent"
app:layout_constraintTop_toTopOf="parent" />
</androidx.constraintlayout.widget.ConstraintLayout>
|
cs |
2) 액티비티에서 리사이클러뷰를 지정하고 레이아웃매니저, 어댑터를 선언해 줍니다
MainActivity.java
|
1
2
3
4
5
6
7
8
9
10
11
12
13
14
15
16
17
18
19
20
21
22
23
24
25
26
27
|
public class MainActivity extends AppCompatActivity {
private RecyclerView recyclerView;
private RecyclerView.Adapter mAdapter;
private RecyclerView.LayoutManager layoutManager;
// 어댑터로 넘길 데이타
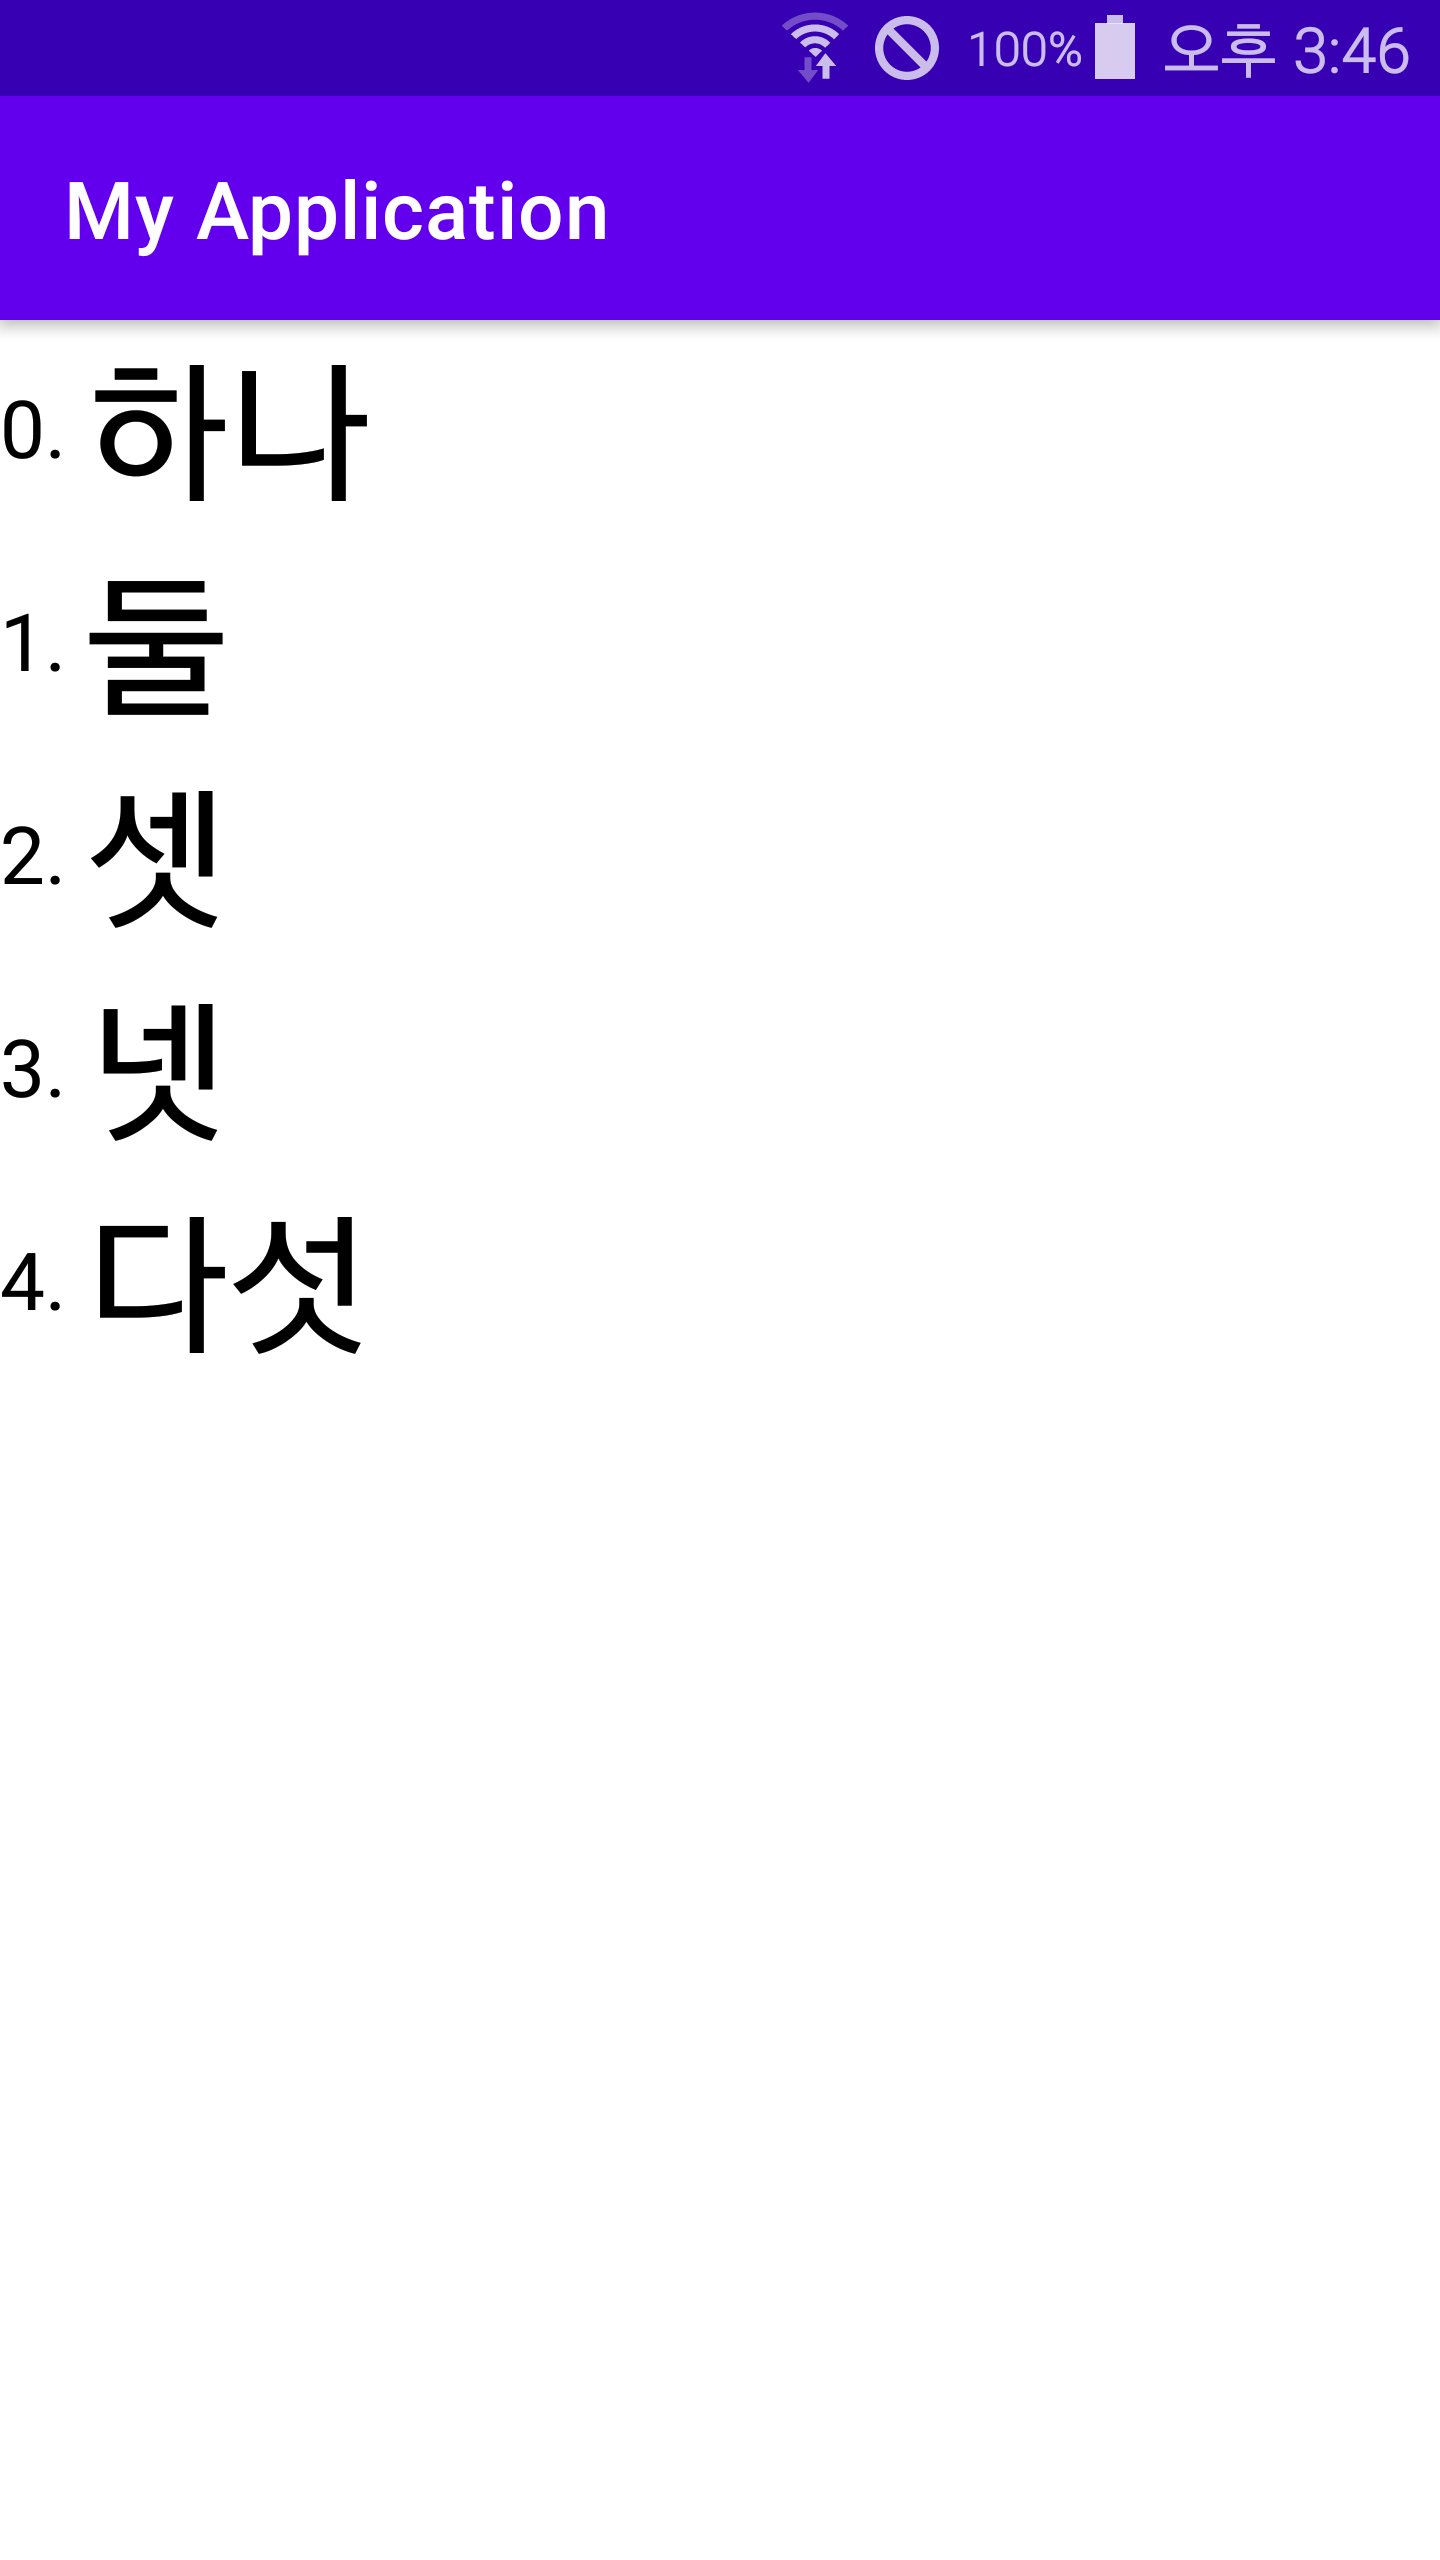
String[] myDataset = {"하나", "둘", "셋", "넷", "다섯"};
@Override
protected void onCreate(Bundle savedInstanceState) {
super.onCreate(savedInstanceState);
setContentView(R.layout.activity_main);
recyclerView = findViewById(R.id.my_recycler_view);
// 리사이클러뷰 사이즈 고정
recyclerView.setHasFixedSize(true);
// LinearLayoutManager 로 리사이클러뷰의 세팅을 변경할 수 있다 ex) 가로로 만들기
layoutManager = new LinearLayoutManager(this);
recyclerView.setLayoutManager(layoutManager);
// 어댑터 세팅
mAdapter = new MyAdapter(myDataset);
recyclerView.setAdapter(mAdapter);
}
}
|
cs |
3) res/layout 폴더에 새로운 레이아웃 리소스 파일을 만듭니다
이 레이아웃 파일에 리사이클러 뷰에 나타날 아이템을 정의해 줍니다
텍스트뷰 이외에도 이미지뷰 등 다양한 뷰를 추가 할 수 있습니다
my_recyclerview.xml
|
1
2
3
4
5
6
7
8
9
10
11
12
13
14
15
16
17
18
19
20
21
22
23
24
25
26
27
28
29
30
31
|
<?xml version="1.0" encoding="utf-8"?>
<androidx.constraintlayout.widget.ConstraintLayout
xmlns:android="http://schemas.android.com/apk/res/android"
xmlns:app="http://schemas.android.com/apk/res-auto"
android:layout_width="wrap_content"
android:layout_height="wrap_content">
//각각의 리사이클러뷰 아이템에 번호를 써주는 뷰
<TextView
android:id="@+id/numberView"
android:layout_width="wrap_content"
android:layout_height="wrap_content"
android:text="TextView"
android:textColor="@color/black"
android:textSize="20sp"
app:layout_constraintBottom_toBottomOf="parent"
app:layout_constraintStart_toStartOf="parent"
app:layout_constraintTop_toTopOf="parent" />
//어댑터로 받은 문자열 출력하는 뷰
<TextView
android:id="@+id/textView"
android:layout_width="wrap_content"
android:layout_height="wrap_content"
android:text="TextView"
android:textColor="@color/black"
android:textSize="40sp"
app:layout_constraintEnd_toEndOf="parent"
app:layout_constraintStart_toEndOf="@+id/numberView"
app:layout_constraintTop_toTopOf="parent" />
</androidx.constraintlayout.widget.ConstraintLayout>
|
cs |
4) 마지막으로 어댑터 클래스를 만들어 줍시다
MyAdapter.java
|
1
2
3
4
5
6
7
8
9
10
11
12
13
14
15
16
17
18
19
20
21
22
23
24
25
26
27
28
29
30
31
32
33
34
35
36
37
38
39
40
41
42
43
44
45
46
47
|
class MyAdapter extends RecyclerView.Adapter<MyAdapter.MyViewHolder> {
private String[] mDataset;
// 리사이클러뷰 안의 뷰를 참조하는 메소드
public static class MyViewHolder extends RecyclerView.ViewHolder {
public TextView numberView, textView;
public MyViewHolder(View v) {
super(v);
numberView = v.findViewById(R.id.numberView);
textView = v.findViewById(R.id.textView);
}
}
// 배열 데이타를 받는 생성자
public MyAdapter(String[] myDataset) {
mDataset = myDataset;
}
// 새로운 뷰 생성
@Override
public MyAdapter.MyViewHolder onCreateViewHolder(ViewGroup parent,
int viewType) {
// 뷰 생성
View v = LayoutInflater.from(parent.getContext())
.inflate(R.layout.my_recyclerview, parent, false);
MyViewHolder vh = new MyViewHolder(v);
return vh;
}
// 뷰 내용 수정
@Override
public void onBindViewHolder(MyViewHolder holder, int position) {
// 현재 포지션에 해당하는 데이타 값을 가져옴
// 해당 값을 뷰에 적용
holder.numberView.setText(position+". ");
holder.textView.setText(mDataset[position]);
}
// 표현 할 뷰의 갯수 지정
// 여기선 데이타 배열 크기 만큼 뷰가 생성
@Override
public int getItemCount() {
return mDataset.length;
}
}
|
cs |
'Android Java' 카테고리의 다른 글
| [Android Java] 안드로이드 자바 유용한 코드 모음 (0) | 2020.11.02 |
|---|
Comments